


Eggsellent.
- Apr 14, 2017
- 6 min read
Hellooooo everybody! How are we all this week? I'm very well, thank you, although admittedly very tired as I write this and let me tell you why! As many of you already know, I work part-time at the moment at Thorntons, which is honestly more like a hobby than a job, because I get to ice messages and little drawings on chocolate all day, which combines two of my ultimate fave things - art and chocolate! However, as Easter draws ever closer, Thorntons gets busier and busier and at the moment it's so busy I get home from work and collapse somewhere until the next morning when I get up to do it all again. It's all good fun though, and I did have yesterday off, and so I decided that this week, we would get a little bit creative! I love Easter, and Spring in general, and so although I am not religious as such, I like to celebrate Easter as a welcoming of Spring and new life. I decided to make some new puffin pals, of an entirely new variety, to go along with the Easter celebrations. I also made some little nest cakes, and so if you'd like to come with me, I'll do a little bit of show and tell! Puffin Egg Friends.

Now, I truly tried very hard to come up with some sort of hilarious pun-based name for these little fellows, but either I'm too tired to just not funny enough, so for now we're just going to call them egg friends. If you are wittier than I, please comment a better name for them below! So, in order to make these little chaps, you'll need some eggs, a pin-type object, a straw, a bowl, a use for two eggs (we had scrambled eggs for dinner, which I haven't had for ages and actually thoroughly enjoyed) and some acrylic paints and brushes. This would probably be great fun to try with younger kids, as I find the general rule of thumb is that if I enjoy something a lot (finger painting, swings, chocolate, cartoons, ball pits, etc) then your average 7 year old will also enjoy it.
The first thing I did, before even getting near an egg, was to make a little home for the egg friends. I had a paper plate and painted it in sea-ish colours, before blobbing a bit dollop of paint to act as a little rock for your puffin egg friend to live his exciting life on. If you're making more than one egg friend, you'll need more than one island. Here's a little timelapse of what I did to make their sea-plate:
So once you have that all sorted, it's then time to make yourself some actual egg friends!
This is the really fun bit, you'll need to take your pin-type object (I used a safety pin), sterilise it, and then carefully start stabbing your egg. I made two holes, one in the top, thinner end of the egg (do these sorts of things have proper names?) and one in the bottom (I googled it, and I only got lots of biology for the inside of the egg and recipes for fried/scrambled/etc eggs, so I suppose they don't have proper names). Anyway, once you have made some adequately sized holes (this is actually surprisingly hard to do, who would ever have thought that egg shells were so strong?!) you can get yourself a bowl, a straw, and a deep breath, position your straw above one hole, and with the other hole above the bowl (it rhymes!) blow the egg out of the shell. If I'm not making much sense to you here, there are lots of tutorials and tips on how to do this online. Unfortunately and thankfully, there are no helpful pictures of me doing this to show you, since all my attention, hands and concentration were on the task at hand! Once all the egg is emptied, wash the egg shell out gently with some hot water to make sure all the eggy bits are gone.
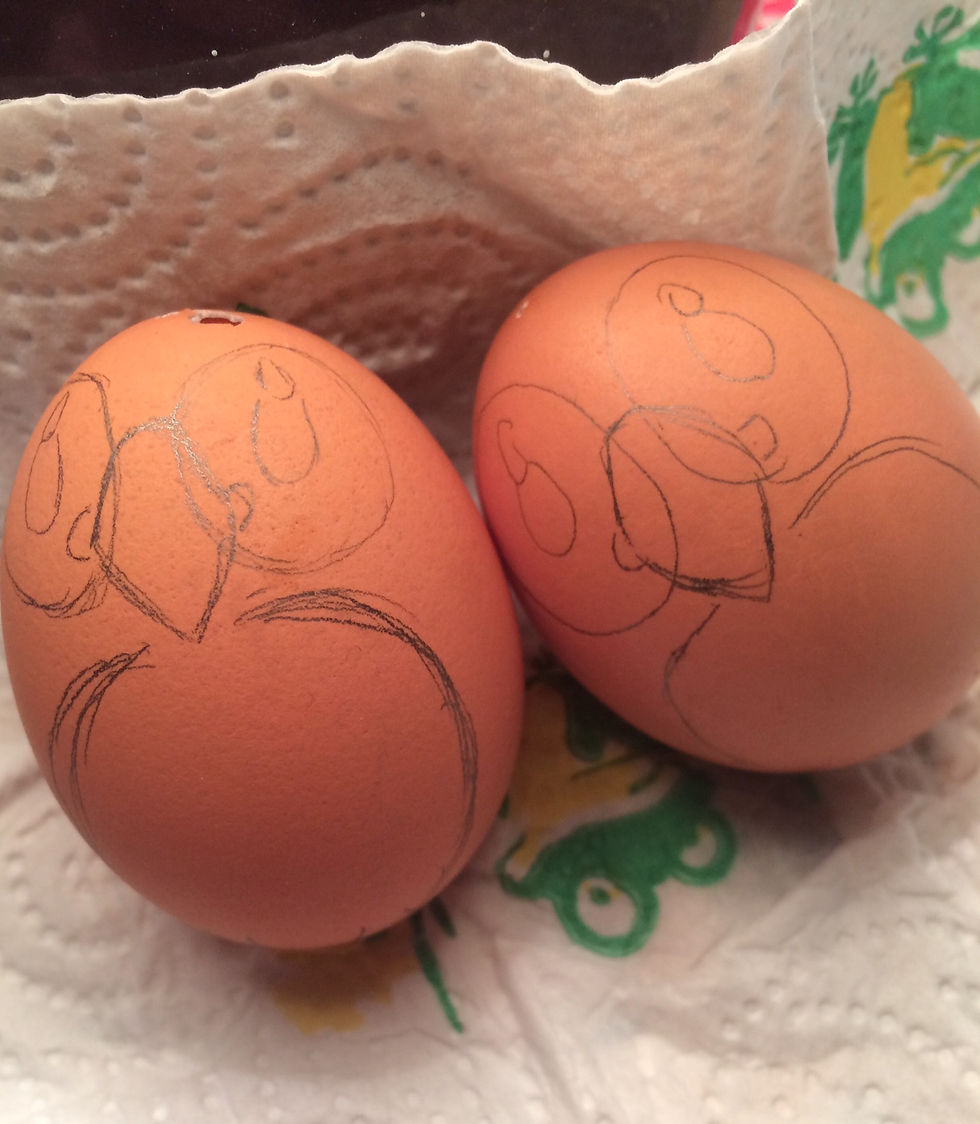
Now it's time for the other fun part! Personally, I thought it a wise choice to lightly pencil in where I was going to be painting, but you don't have to do this. To make a puffin egg, simply draw two circles on the top third of the egg, a triangular beak shape in between the circles, and a little puffin eye in the middle of each of the circles, and then a bigger circle below for his tummy, like this:

Then all that's left to do is paint your little pals! This can be very messy, so if you are painting with younger children, make sure to put newspaper on any tables or surfaces! I did another little timelapse video of me painting these little egg friends, so you can see that here:
Once they're all painted, leave them and the plate to dry, and then pop them on their little rocks, and there you have it, puffin egg friends for Easter! Of course, you can paint any type of egg friend you like, and any sort of backdrop, I only chose puffins because frankly, I think I'm mildly (mildly is an understatement if there ever was one!) obsessed.
Sadly, one of my puffin egg friends seems to have had a bit of a humpty dumpty esque fall, and has a rather nasty chip in his skull. Nonetheless, he's smiling away and doesn't seem to have noticed, and I think he's just as cute! Maybe I'll call him Chip!
Ahh, the end of another blog post... or so you thought! No, lovely readers, I got well and truly into the Easter spirit yesterday, and as well as egg friends, I thought you might also enjoy an Easter DIY of the more delicious kind, and so I decided to have a go at nest cakes. Again, a family favourite and fun to do with little ones, this is a very easy and quick baking session that results in deliciously Eastery treats for everyone. Nest Cakes!

You will neeeeed:
~Shredded wheat (I used about 3 little packets) ~Chocolate for melting (I used about 200g of milk choc and 200g of white) ~Mini/micro eggs ~Paper cupcake cases in pastel-Eastery colours (~Optional tiny adorable chicks for decoration purposes ~Optional Easter Egg ~Optional Puffin Prints Herbert the Hare card ~Optional dishrack in the background of the photo)
I barely even need to write the guidelines for making these as they are so super easy, but I took nice pictures of me making them and so I will! Step 1.
Break your choc into squares and try very hard not to eat it all before you bake the cakes. (I mean, one or two squares is okay, but really try not to eat them all, as hard as I appreciate that may be).

Step 2
Make a bain-marie (pan of hot water on the stove with a heatproof bowl on top but not in/touching the water) and melt your chocolate down until it's scrummy and melty.

I mean, would you look at that?? I took the little chickie out of this pic in case he decided to make a dive into my chocolate! Step 3 Crumble the shredded wheat into the melted chocolate and stir, baby, stir. (Again, try not to eat all materials at this point. However, definitely do make sure to do a taste test...in case it's...um...not the right quantity...of...ehem... I just like tasting it.)
Once you've stirred it all up, simply spoon into cupcake cases and decorate with mini eggs!

Being the chocoholic that I am, I also repeated all the same steps to make the same nesty cakes with white chocolate too. These are also absolutely scrummy, so if you have anyone in the family that prefers white chocolate, these are an absolute must!


The big mother-chick is my little pet called Eggbert, which Farren bought for me last week! She's cute and also hides a creme egg inside her tummy, so she's clearly a firm fave of mine. That's all for this week folks, thanks so much for reading, and I hope you all have a wonderful Easter weekend with your nearest and dearest! (and if you want any, I hope your weekend is chock-full of choc!) Catch you next week, have a Good Friday... (get it?) Rachel x P.S. If you make any egg friends or nesty cakes, please send me some pics! I'd love to see them!
Comments